

You might think that building your own Desktop PC is such convoluted task that requires you to have advanced knowledge and expertise about computers. Well, THINK AGAIN!
With a little help, it can be as easy as solving a children’s shapes puzzle. It only requires you to follow proper instructions, a little knowledge about computers, and a lot of common sense (sorry, can’t help you with this one).
While it’s true that building your own desktop PC is easy, building more powerful machines for gaming and more advanced use cases such as photo/video editing, animation, and software development requires a little more than basic computer knowledge. But for this post, I’m only going to talk about the essentials and walk you through—at least try to—the basics of building a computer that works.
But before we start, here’s a vocabulary of computer terms that I will be using which you should too!


mobo – motherboard
rig – computer
PSU – Power Supply Unit
GPU – Graphics Processing Unit/Video Card
FPS – Frames Per Second
SSD – Solid State Drives
Let’s start!
There is no real sequence or steps that you should follow in choosing and buying parts. You usually pick a single part then build your computer around that part based on its compatibility. But for real beginners, I suggest starting with a processor, a mobo or a combo of the two.
For this guide, I’ll start with the CPU
The CPU is the heart of your rig. It’s responsible for carrying out complex instructions needed for your computer to run. It basically determines the computer’s overall performance, so don’t try to skimp on buying a CPU if you want it to perform well. I recommend spending around ₱3,000 to ₱10,000 when buying your first CPU.
Here are some of my recommended budget Processors
Motherboard
After choosing a processor, you have to find a motherboard with the appropriate socket. The socket required by the CPU is usually written on the label or you can just google it. Aside from the socket, mobos are also labelled with its form factor, which is essentially its size. The most popular form factors are ATX and micro-ATX. I recommend spending around ₱2,500 to ₱8,000 when buying your first Motherboard.
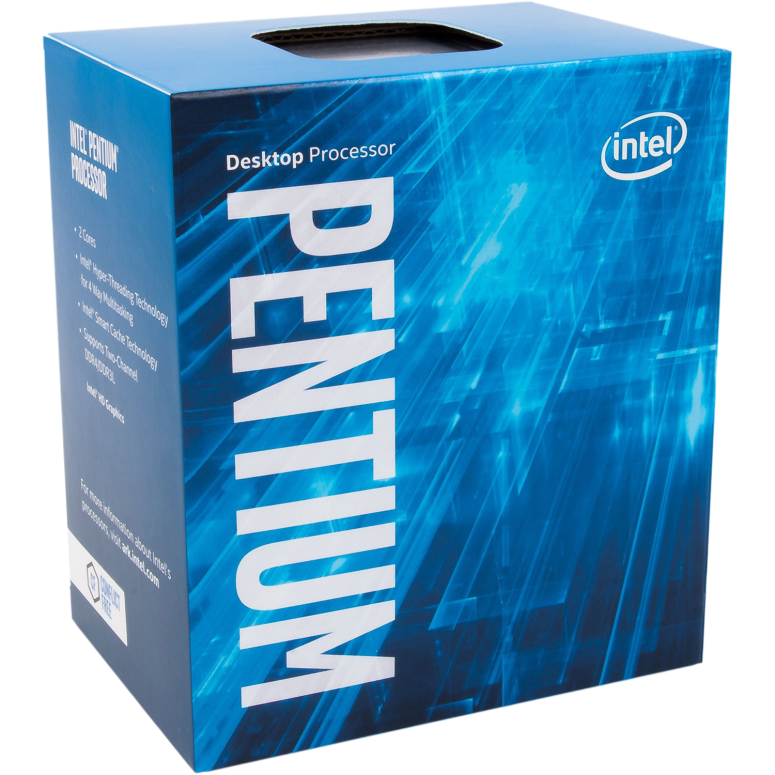
The G4560 is made for motherboards with the socket LGA 1151, so make sure that the mobo you buy has the same socket otherwise it won’t work/fit. Also always check for reviews before buying.
Top Rated LGA 1151 Motherboards
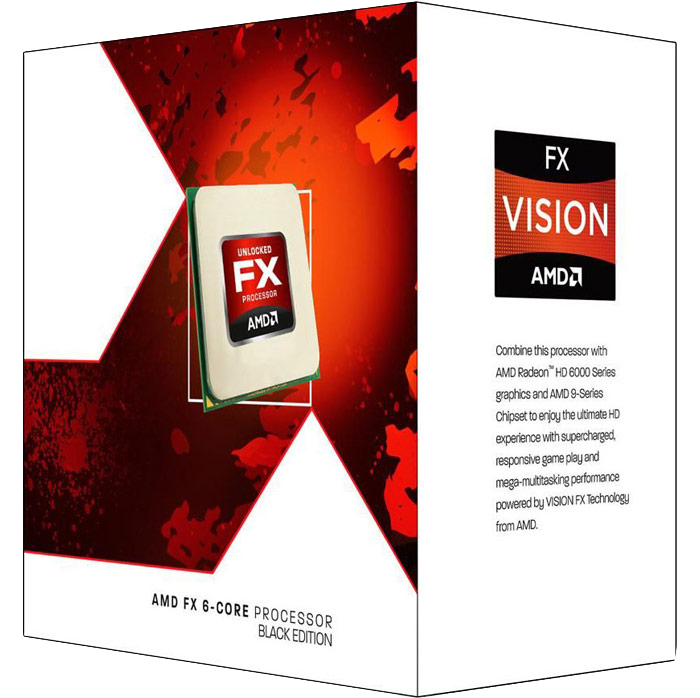
The FX-6300 requires a mobo with socket AM3+. Do take note that because of its age, there isn’t really an upgrade path if you choose to buy this CPU, meaning that you will have to buy a new motherboard and CPU if you want to upgrade.
Top Rated AM3+ Motherboards
GPU
A GPU isn’t really essential unless you either want to game on your rig or you have a CPU without integrated graphics. As you can guess from its name, a GPU is responsible for performing graphics related tasks. It’s just like a CPU, but unlike CPUs which are built for complex computations, it’s built for doing rapid yet relatively less complex computations in bulk namely rendering graphics. Know that GPUs aren’t used only for rendering graphics for games, they can also be used for hardware acceleration for watching HD videos, animation, and editing. I suggest spending less than ₱3,000 for general usage GPUs and ₱5,000 (light) to ₱8,000 (moderate)
If you have a CPU without integrated graphics and you’re not interested in gaming, the AMD R7 240 and the Nvidia GTX 730 are great choices. For general usage, either will easily get things done.
General Usage GPUs
If you’re a little interested in gaming, I suggest getting at least an Nvidia GTX 750 or an AMD R7 260 which can handle gaming at reasonable settings and FPS, enough for you to appreciate the beauty of PC gaming.
Gaming GPUs
RAM
Random Access Memory or RAM is where your computer stores frequent and recent programs/instructions used/executed to speed up the computer. The latest generation of RAM is DDR4 but DDR3 is still the most widely used so take note of this when choosing and buying RAM. The main specifications of RAM, aside from its generation, is Frequency and Capacity. The higher the capacity, the more programs you can have open and swap between at the same time. But more RAM doesn’t necessarily mean a faster computer. For general usage 4-6 GB of RAM is enough and for gaming 8-16 GB is currently the recommended amount, more than that, the extra RAM you have will probably be useless since general applications and games don’t usually use more. Frequency has a negligible effect on performance and in my opinion, higher frequency ram isn’t worth the money. RAM sticks are usually priced at the same amount so you’ll have to look for reviews of different brands about their quality, service, durability, etc. I recommend buying getting 4-8 GB and spending around ₱2,000 to ₱4,000 on RAM.
Recommended RAM Brands
Hard Drive/SSD
The hard drive serves as your computer’s long-term storage. It’s where you’ll put/install all your applications, games, pictures, videos, music, and other personal files. You’re probably well acquainted with this one so I’ll just give you some quality/trusted brands to buy from. I recommend getting at least 500GB of storage which will cost no more than ₱3,500.
Similarly, an SSD is another device used for storage but unlike an HDD, they contain no moving parts. Therefore, they are more physically resilient, run quieter, and are many times faster than a traditional HDD that uses magnetic disks. They are also a lot more expensive and come with smaller capacities than HDDs.
Recommended Brands
- Western Digital
- Seagate
- Hitachi
- Toshiba
Power Supply
The PSU powers your whole rig. It’s the part that you plug in the wall socket. A regular everyday computer requires around 200-400 Watts to run and it scales as you change or add more components. The power output rating is usually written on the PSU itself. For this build, I recommend getting a PSU with a power output rating of at least 300 Watts and also look for units with 80 Plus certifications because these units are more reliable and efficient than generic PSUs.
Case
For the final (essential) part of your system unit, you’ll need something to put all the parts in and protect them, you’ll need a case. This is where that motherboard form factor comes into play. If you bought an ATX mobo, you’ll need an ATX case. But if you bought a micro-ATX mobo, you’ll need either an ATX or a micro-ATX case. Smaller mobos usually fit in bigger cases so it’s safest to buy an ATX case in case (no pun intended) you upgrade your micro-ATX mobo to an ATX one. There are too many brands and models of computer cases so you’ll just have to personally look for ones with good reviews and are from well-known brands such as CoolerMaster, Corsair, Rosewill etc.
This ends the essential specs guide for building your own PC. For guides on how to put the parts together, I recommend watching videos on Youtube made by real experts such as LinuxTechTips, Austin Evans, and JayzTwoCents because I’m pretty sure that videos can help you build your computer a lot more than reading can.
Thanks for reading!
